Getting Started
Before you start
1. Register as a Salto XS4 Face partner
Provide the following to integrations@gantner.com:
- A signed NDA with Gantner (an existing GT7 NDA is sufficient)
- Your partner name
- The email address and name of your first developer (you will then be able to manage your own users)
2. Request credentials for the acceptance environment
- The Gantner Integrations Team will provide a
clientIdandclientSecretfor the acceptance environment, for use with the Authentication API
3. Access the XS4 Face console
The XS4 Face acceptance environment is used for your development and testing. The console can be accessed here:
https://console-accept.eu.xs4face.app/
Create your first site
4. Open Manage Organisations
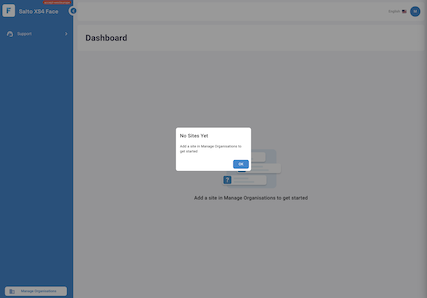
Click OK to close the No Sites Yet dialog, then click Manage Organisations.
5. Add a site
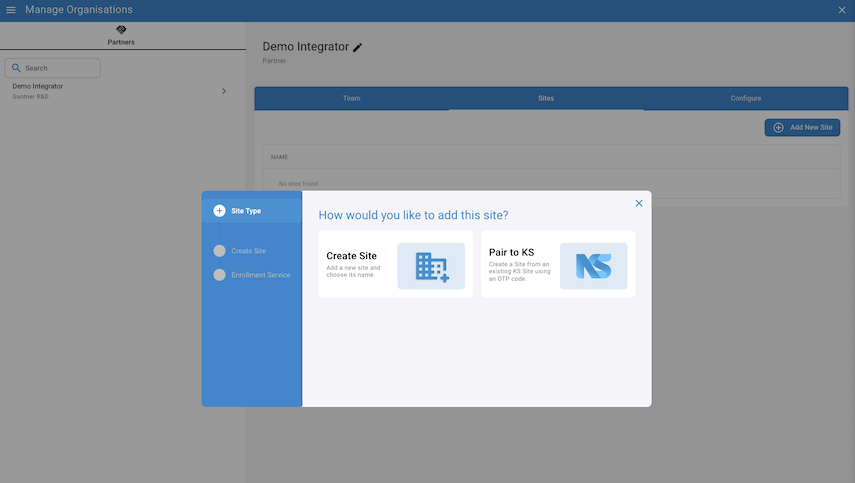
Select the Sites tab in your partner, then Add New Site, then Create Site.
6. Provide a site name
Info
The Site Name is shown to the user during the enrollment process to confirm the location where face recognition will take place.
7. Provide a company name and privacy policy URL
Info
The Company Name is shown to the user during the enrollment process to identify the legal entity that will be performing biometric processing of their data. The Privacy Policy URL gives the user access to that legal entity’s privacy policy, explaining how their data will be managed and who to contact. Templates for the privacy policy and further information are available on the Salto Systems XS4 Face Support Site.
Close the Manage Organisations screen.
8. Enable the GT7 feature
Enable the GT7 feature on the Features page.
Tip
Users and enrollments can now be managed. You do not need an XS4 Face Appliance or a GT7 device to do this, but both are needed for full system testing.
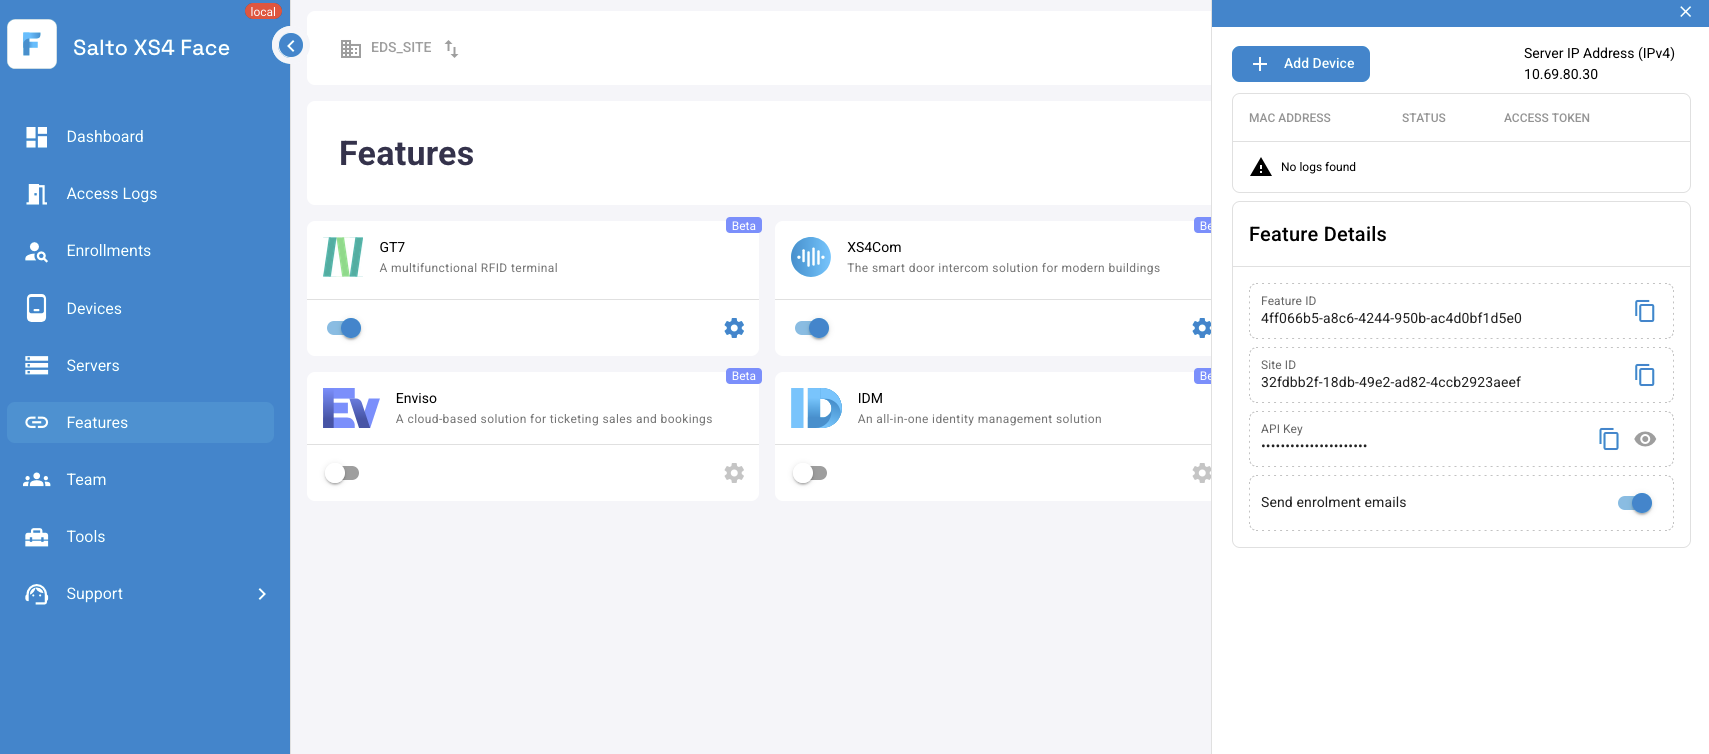
Once the GT7 feature is enabled, click the cog icon to see its settings.
Feature ID is the value needed for all API calls that manage this site.
Important
Send enrolment emails is enabled by default, so that users are invited to use the Salto Enrollment App. Level 2 integrations, where your own app manages the enrollment, should disable this setting.
Make your first API calls
9. Obtain an access token
Call the Authentication API with the clientId and clientSecret
provided by the Gantner Integrations Team, for example:
A successful request returns a JSON response containing the access_token:
Use the returned access_token in the Authorization header of subsequent API
calls, for example Authorization: Bearer eyJhbGciOiJ....
10. Enable a user for face recognition
Use the Users API PUT /features/{featureId}/users/{userId}
endpoint, passing the Feature ID from the GT7 feature settings and a
userId of your choice, for example:
A successful request returns the created or updated user:
Note
The GT7 device requests access using the provided userId when the user is
recognised.
This triggers an enrollment invite to the email address provided. Once the user accepts the terms of service, provides an image and confirms their consent, they will be able to use face recognition.